
Crispy Chicken Katsu Salad with Spicy Sriracha Mayo

This post may contain affiliate links. Please check our disclosure policy.
Chicken katsu salad from a restaurant is one of those meals that always feels like a treat — the crunch of the panko crust, the sweet-savory sauce, the fresh veggies, the contrast between something hot and crispy and something fresh and cool.
Chicken Katsu Salad
I started making this at home when I realized the whole thing is simpler than it looks, since I sometimes make a chicken katsu bowl for our dinner anyway. So I thought it was just a matter of swapping the rice for a veggie salad only.
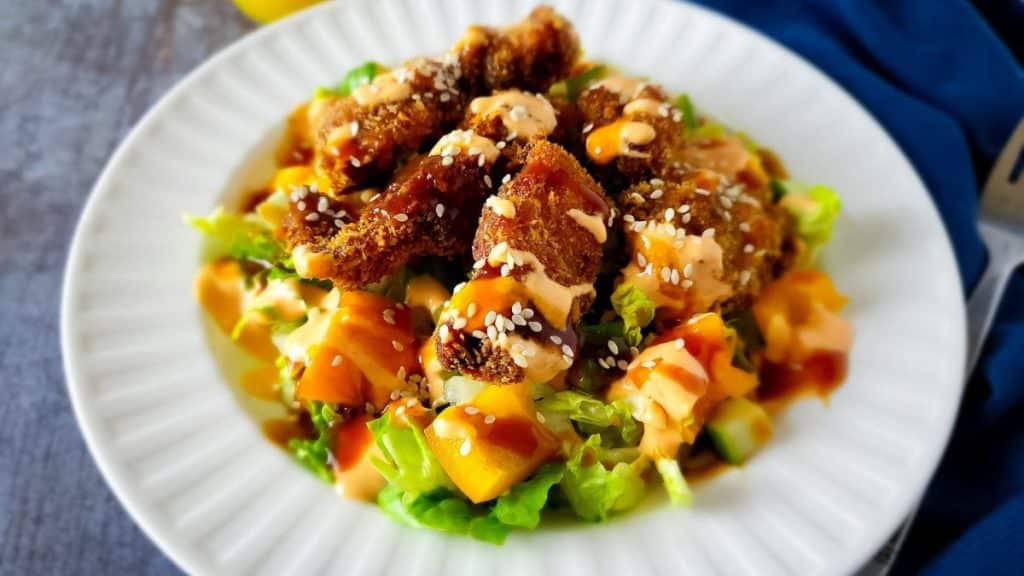
The result is a restaurant-quality dish that works equally well as a lunch, a light dinner, or a way to impress without spending hours in the kitchen.
Tweaked Japanese Katsu
Adapted from the classic Japanese katsu format, this chicken salad recipe uses boneless chicken coated in panko breadcrumbs and deep-fried, then served over a simple, fresh salad with two sauces: a homemade katsu sauce and a spicy sriracha mayo that adds heat and creaminess.
Unlike the original Japanese chicken katsu, which does not require marination, I marinate the chicken in half the katsu sauce before cooking. Because I want the flavor embedded in the meat rather than just applied at the end. This little trick makes the flavor go all the way through rather than just sitting on the surface.
Also, piercing the chicken pieces with a skewer before marinating may seem optional — to me, it isn’t. It’s the difference between chicken that tastes seasoned and chicken that just tastes coated. I always do this step in preparing my meat for any cooking. The result is a more flavorful dish, and even my boys can tell the difference if I skip this step.
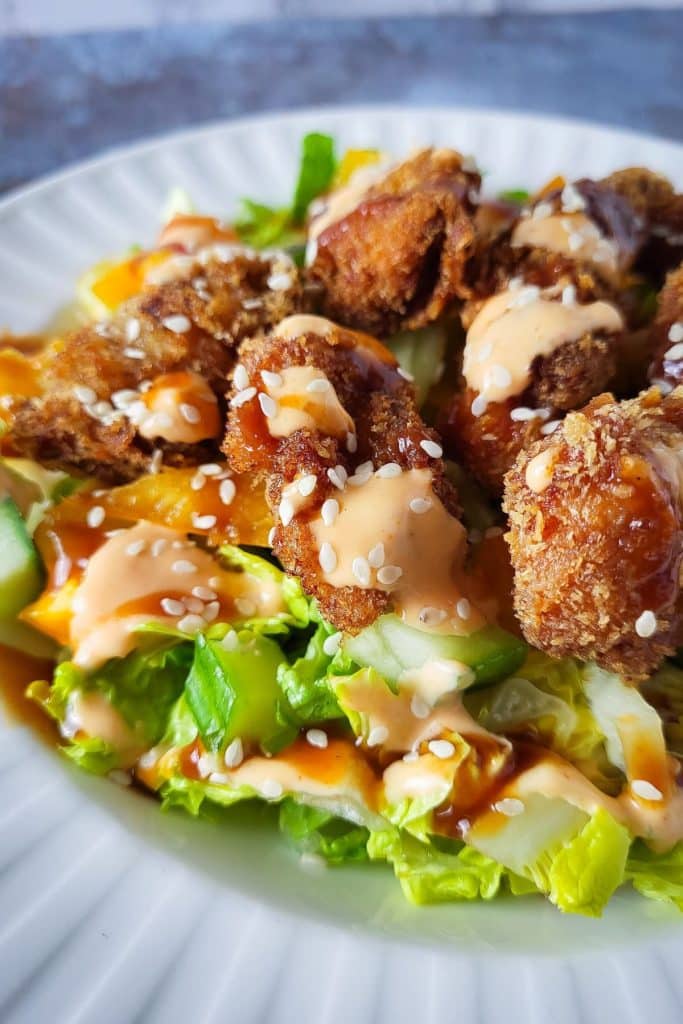
As for the salad underneath, it isn’t an afterthought either. Little gem lettuce, cucumber, bell pepper, and both sauces drizzled over the top make this a complete meal that holds its own against anything you’d order at a Japanese restaurant.
Why You’ll Love This Recipe
- The double-sauce approach is what makes this special. Most katsu recipes use a single sauce. This one gives you two — the sweet-savory katsu sauce and a creamy sriracha mayo — and drizzling both over the finished salad creates a more complex, interesting plate than either sauce alone.
- Marinating in the katsu sauce before breading is a game-changer. The chicken absorbs the sweet, savory flavor before the egg and panko go on. Every bite tastes seasoned all the way through rather than just on the crust.
- Piercing the chicken is a small step with a big payoff. Skewering the pieces before marinating opens the meat fibers and allows the sauce to penetrate more deeply. It takes thirty seconds and makes a noticeable difference to the final flavor.
- Panko breadcrumbs give a superior crunch. Panko is coarser and lighter than standard breadcrumbs, which means it fries up crispier. If you’ve only ever made fried chicken with regular breadcrumbs, the difference is significant.
- Completely customizable salad base. The recipe works with whatever vegetables you have. Shredded cabbage, grated carrot, sliced radishes, edamame — all work.
Ingredients You Need
For the chicken and katsu sauce:
- 1 large skinless boneless chicken breast, cut into ½ inch pieces
- ¼ cup tomato ketchup
- 2 tablespoons hoisin sauce
- 1 tablespoon oyster sauce
- 1 tablespoon Japanese soy sauce
- 1 tablespoon water
- 1 egg, lightly beaten
- 1 cup / 60g panko breadcrumbs
- Cooking oil for deep frying
For the sriracha mayo:
- 2 tablespoons mayonnaise
- 1 teaspoon tomato ketchup
- 1½ tablespoons sriracha chili sauce
- 1 tablespoon lemon juice
For the salad:
- 1 little gem lettuce
- ¼ cucumber
- ½ bell pepper
- Sesame seeds to garnish (optional)
How to Make Chicken Katsu Salad
- Prepare the chicken by cutting the breast into ½ inch pieces and placing them in a mixing bowl.
- Make the katsu sauce by combining the ketchup, hoisin sauce, oyster sauce, Japanese soy sauce, and water in a small bowl. Stir until smooth.
- Marinate the chicken by pouring half the katsu sauce over the chicken pieces and stirring to coat evenly. Use a skewer to pierce each piece all over — this helps the marinade penetrate the meat. Leave to marinate for at least 20 minutes. Set the remaining sauce aside.
- Add the egg to the marinated chicken when ready to cook. Stir until all pieces are coated.
- Bread the chicken by dredging each piece in panko breadcrumbs, pressing to ensure an even, full coating.
- Fry the chicken by heating enough oil in a wok or deep frying pan for shallow or deep frying. Carefully lower the breaded chicken pieces into the hot oil and fry at medium heat for 3–4 minutes, then turn. Continue cooking until golden brown and crispy all over. Remove and drain on kitchen paper.
- Make the sriracha mayo by mixing the mayonnaise, ketchup, sriracha, and lemon juice in a small bowl until smooth. Set aside.
- Prepare the salad by rinsing and roughly slicing the little gem lettuce, then cutting the cucumber into small cubes and the bell pepper into small pieces.
- Assemble the salad by arranging the lettuce, cucumber, and bell pepper across a wide plate or pasta bowl.
- Top with the chicken by placing the crispy katsu pieces on top of the salad.
- Drizzle both sauces — the remaining katsu sauce and the sriracha mayo — over the top. Scatter sesame seeds over if using, and serve immediately.
Top Tips
- Pierce the chicken before marinating — every time. It sounds fussy, but it takes seconds. The flavor difference between pierced and unpierced chicken after marinating is noticeable. Use a skewer or a fork.
- Keep the oil at a consistent medium heat. Too hot, and the panko burns before the chicken cooks through. Too cool, and the crust absorbs oil, turning greasy. Medium heat gives you an even golden crust with a fully cooked interior.
- Don’t overcrowd the pan. Frying too many pieces at once lowers the oil temperature and results in unevenly cooked chicken. Fry in batches if needed, and let the oil return to temperature between batches.
- Drizzle both sauces separately. Don’t mix them together before serving — keeping them distinct on the plate means each bite hits a different flavor combination depending on where you dip or drag your fork.
Substitutes and Variations
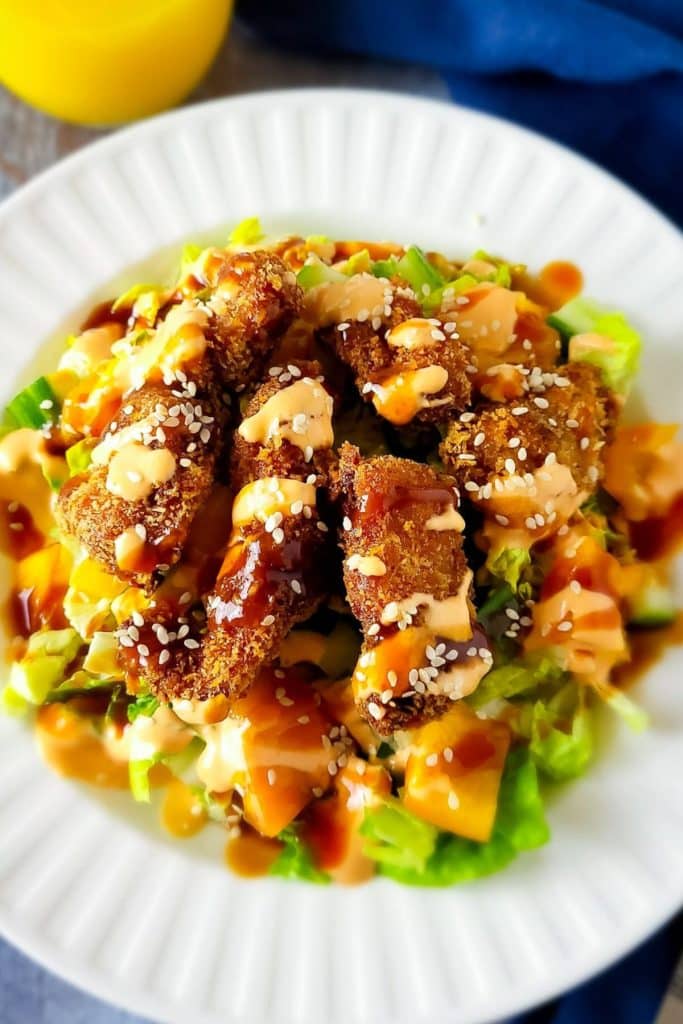
- Salad base alternatives: Shredded white cabbage is the most traditional accompaniment for katsu. Grated carrot, edamame, sliced radish, or avocado all work in this salad format.
- Panko alternatives: Regular dried breadcrumbs produce a finer, less crunchy crust. Crushed cornflakes give a similar coarseness to panko and crisp up well.
- Katsu sauce shortcut: A good-quality store-bought tonkatsu sauce can replace the homemade version if you’re short on time. The Bulldog brand is widely available in Asian supermarkets and is a reliable option.
- Sriracha mayo variations: Swap sriracha for gochujang for a deeper, fermented heat. Add a teaspoon of sesame oil to the mayo for a nuttier finish.
- Make it lighter: Shallow-fry in a thin layer of oil rather than deep-frying. The crust won’t be as uniformly golden, but the flavor is almost identical with significantly less oil.
Storage
Fried chicken: Best eaten immediately. The panko crust softens quickly once the chicken cools. If you have leftovers, store them in an airtight container in the fridge for up to 2 days and reheat in the oven at 375°F / 190°C for 8–10 minutes to restore some crispiness. Avoid the microwave — it turns the crust rubbery.
Sauces: Both the katsu sauce and sriracha mayo keep in sealed jars in the fridge for up to 5 days. Give them a stir before using.
Salad: Keep the prepared vegetables in a separate container in the fridge for up to 2 days. Assemble the full salad only when ready to eat.
What to Serve With
- Steamed jasmine rice — turns this from a salad into a more substantial meal. The katsu sauce doubles as a rice drizzle.
- Miso soup — a small bowl alongside keeps the Japanese-inspired theme and adds warmth to what is otherwise a cold-and-hot contrast plate.
- Edamame with sea salt — a simple, protein-rich side that takes two minutes and fits the flavor profile perfectly.
- Pickled cucumber or daikon — the acidity cuts through the fried chicken and both sauces, refreshing the palate between bites.
- Extra sriracha mayo on the side — for dipping the chicken pieces directly. Most people want more of it than the recipe provides.
Common Questions Answered
What is chicken katsu?
Chicken katsu is a Japanese dish of breaded, deep-fried chicken cutlet — “katsu” comes from the Japanese pronunciation of “cutlet.” It’s traditionally served with a thick, sweet-savory sauce and shredded cabbage. This recipe adapts the format into a salad with a homemade katsu sauce and spicy mayo.
What is the difference between katsu sauce and regular barbecue sauce?
Katsu sauce is sweeter and more complex than standard barbecue sauce. It typically combines ketchup, Worcestershire, and other savory elements for a distinctly sweet-tangy-umami flavor. This recipe builds a similar profile using ketchup, hoisin, oyster sauce, and Japanese soy sauce — each ingredient adding a different layer of depth.
Can I air-fry the chicken katsu instead of deep-frying?
Yes. Spray the breaded chicken pieces with cooking oil and air-fry at 400°F / 200°C for 10–12 minutes, turning halfway, until golden and cooked through. The crust won’t be quite as deeply golden as deep-fried, but is still very crispy and significantly less oily.
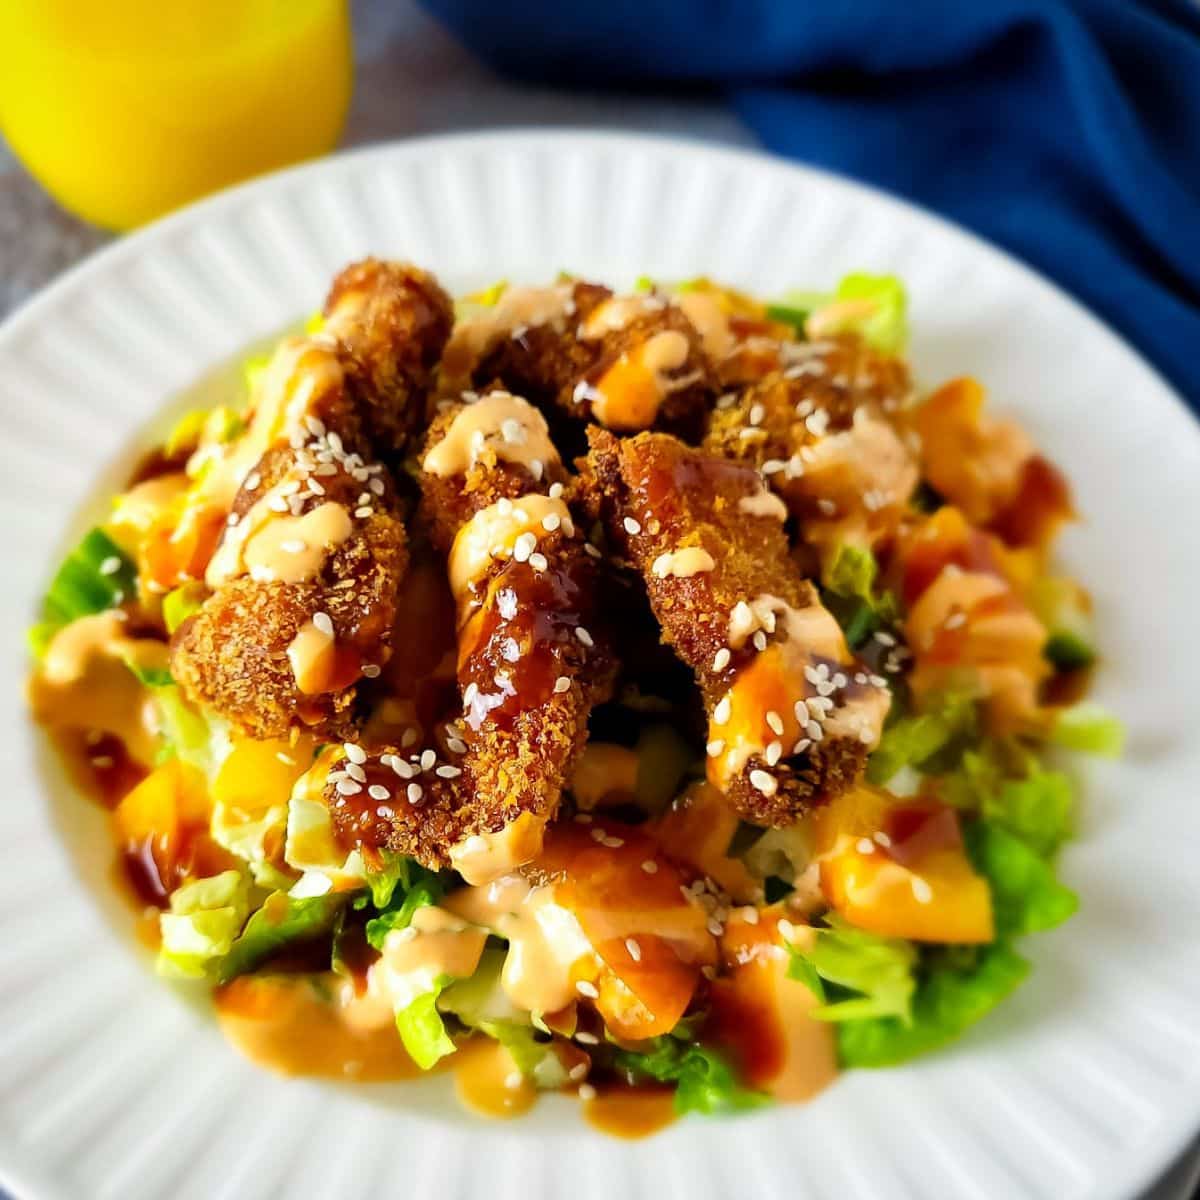
Crispy Chicken Katsu Salad with Spicy Sriracha Mayo
Ingredients
For the Chicken and Katsu Sauce
- 2 large skinless boneless chicken breasts cut into ½ inch pieces
- ½ cup tomato ketchup
- 4 tablespoons hoisin sauce
- 2 tablespoons oyster sauce
- 2 tablespoons Japanese soy sauce
- 2 tablespoon water
- 2 eggs lightly beaten
- 1½ cup panko breadcrumbs
- Cooking oil for deep frying
For the Srirache Mayo:
- 4 tablespoons mayonnaise
- 2 teaspoons tomato ketchup
- 3 tablespoons sriracha chili sauce
- 2 tablespoons lemon juice
For the Salad:
- 2 little gem lettuce
- ¼ cucumber
- ½ bell pepper
- Sesame seeds to garnish optional
Instructions
- Prepare the chicken and place it in a mixing bowl.
- In a small bowl, place ¼ cup of tomato ketchup, 2 tablespoons of hoisin sauce, 1 tablespoon of oyster sauce, 1 tablespoon of Japanese soy sauce, and 1 tablespoon of water. Mix all together until you have a smooth sauce.
- Pour half the sauce over the chicken and stir well until all pieces are coated. Using a skewer, pierce the chicken pieces all over. This little trick will help the meat to develop flavor. Leave it to marinate for at least 20 minutes.
- When you are ready to cook, lightly beat the egg and stir it into the chicken pieces.
- Heat the oil in a wok or frying pan. Take one piece of chicken and dredge it in the panko breadcrumbs until it is fully coated. Then carefully slide the chicken into the hot oil. Continue doing until the wok is filled with chicken.
- Fry the chicken over medium heat for about 3-4 minutes, then turn it. Continue cooking until the chicken is golden brown and crispy. Take them out of the oil and place them on a plate lined with a paper towel/ kitchen paper.
- Mix two tablespoons of mayonnaise, 1 tablespoon of tomato ketchup, 1½ tablespoons of sriracha chili sauce, and 1 tablespoon of lemon juice in a small bowl. Set aside.
- Rinse and dry the little gem lettuce, then roughly slice it.
- Cut the cucumber into small cubes.
- Cut the bell pepper into small pieces.
- Take a pasta plate. Place and arrange the lettuce, cucumber, and bell pepper on the plate.
- Put the chicken katsu pieces on top of the salad.
- Drizzle the salad with the remaining chicken katsu sauce and the spicy mayonnaise. Sprinkle some sesame seeds over (optional).
Notes
- Boneless chicken thighs work well for this recipe, too.
- You can choose whatever vegetables you like for the salad.
Nutrition

Devy founded So Yummy Recipes to share her love of food after exploring various cultures and cuisines for more than two decades. Her mission is to help others easily recreate traditional and non-traditional food with readily available ingredients. Her works have been featured in Reader’s Digest, Al Jazeera, MSN, Yahoo, Bon Appétit, and more.